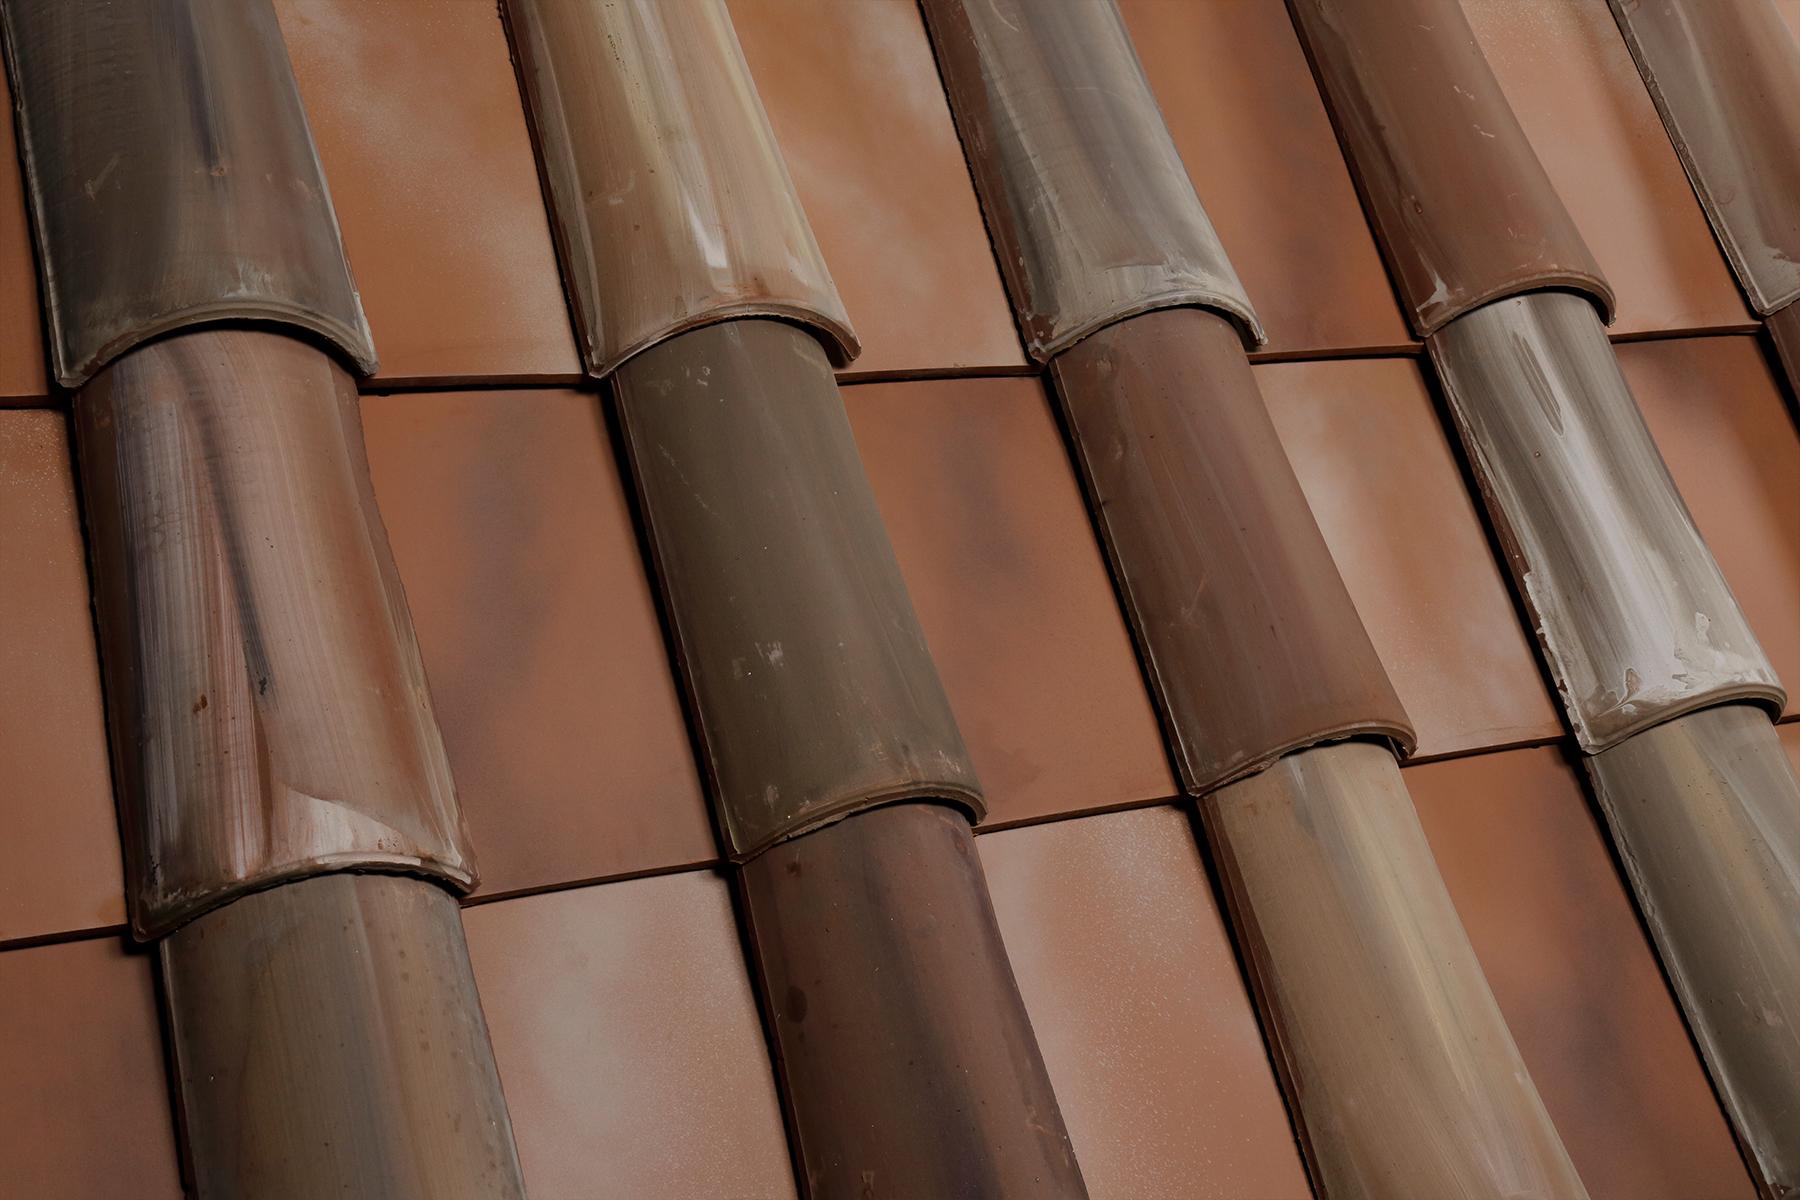
30 x 40 cm
Mate
1.2 cm
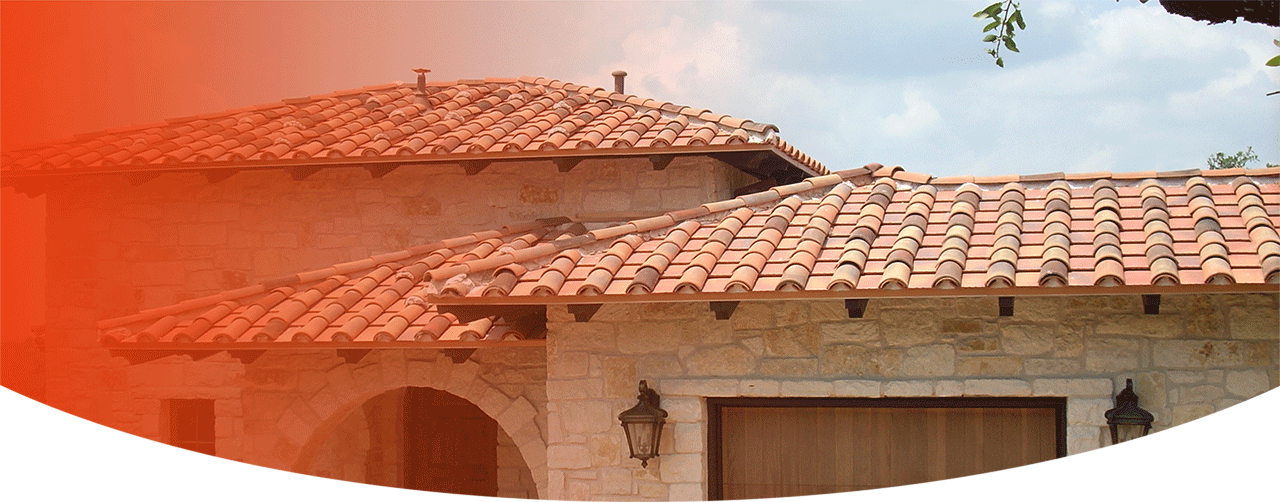
Roof
3 kg

a) Leveling. Level the surface where the tile is going to be placed with mortar, leveling it at the mason line level.
b) Drip Edge Masonry; install the drip of galvanized sheet No. 22 caliber, in order to avoid stains on the flagstone molding. This drip should be pierced every 50 cm to allow the water flow.
c) Water Seal. Seal the entire slab including the galvanized sheet.
2. Leveling Mortar
The first tile at the bottom of the flagstone requires the leveling mortar. Apply the mortar to the entire edge of the flagstone.
3. Line Level
Install the leveling line from the watershed to the bottom edge of the flagstone for reference and to align the tiles lengthwise.
4. Installation Sequence
The tile consists of a flat tray and a ridgepole. Start by installing the trays from the lowest to the highest part of the flagstone. set the tray with a 16 gauge galvanized wire or a 2” nail.
5. The stringing of the tray is done by vertical columns and must be continued by holding each 3 pieces together and by attaching them to the flagstone by means of a nail for concrete or anchor and screw.
6. The vertical overlap is approximately 5 cm, make sure to cover the perforation of the rows. The horizontal separation between the columns of the concave tiles is up to the client. Cover the entire desired area.
7. Install the tiles from the bottom up, guiding the widest part of the tile toward the lowest part of the flagstone, stringing in the aforementioned manner.
8. Cover the entire desired area and install ridgepoles with mortar of a similar shade.
Fill out the form and we will contact you as soon as possible.
Ladrillera Mecanizada @ 2025 All rights reserved
 Ladrillo para Asador
 Barro Kappa
 Ladrillo Modular
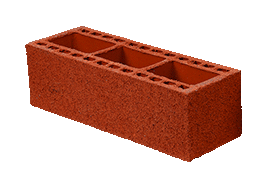 Tabique Porotón
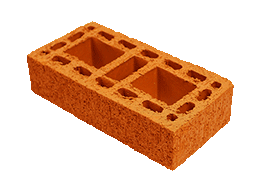 Ladrillo Azteca
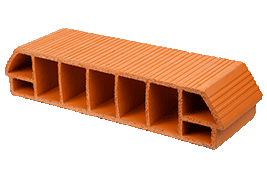 Sistema de Vigueta y Bovedilla
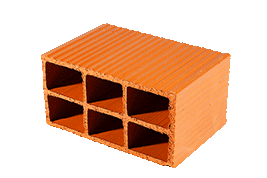 Barro Bloque
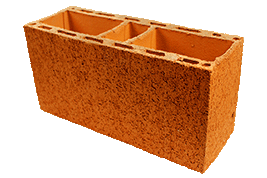 Ecomuro
 Ladrillo Sólido
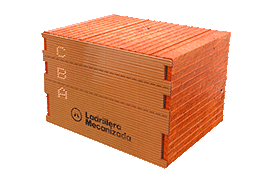 Barrotapa
 Teja Inglesa
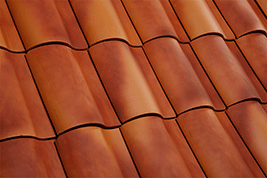 Teja Tipo S
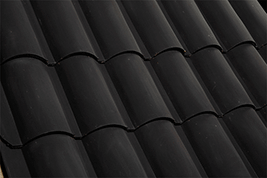 Teja Griega
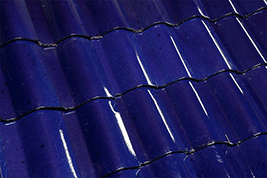 Teja Esparta
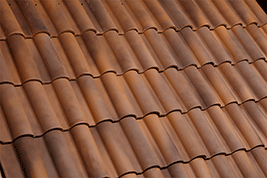 Teja Santorini
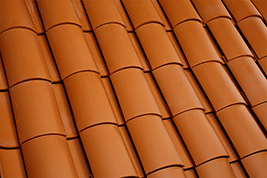 Teja Media Caña
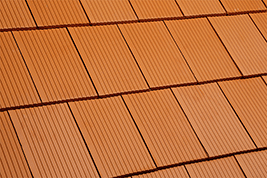 Teja Gales
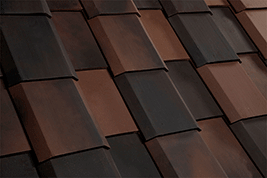 Teja Nuevo Vallarta
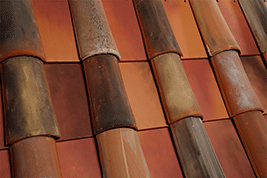 Teja Romana
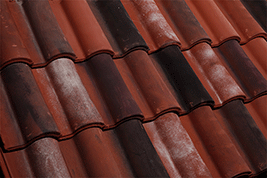 Teja Portuguesa
 Teja Marsellesa
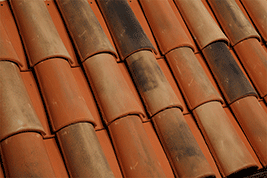 Teja Árabe
 Ladrillo Decorativo
 Fachaleta
 Cintilla
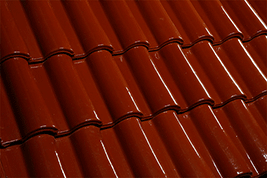 Teja Portuguesa Esmaltada
 Baldosa Super
 Baldosa
 Grava de Barro
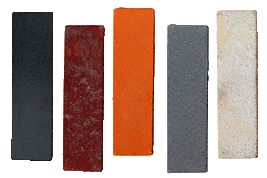 Fachaladrillo
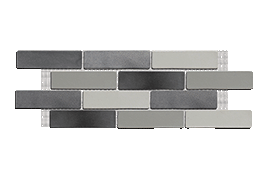 Ladrimalla
 Celosías
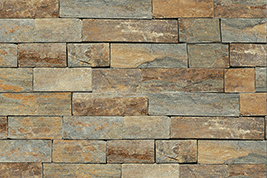 Piedra Decorativa