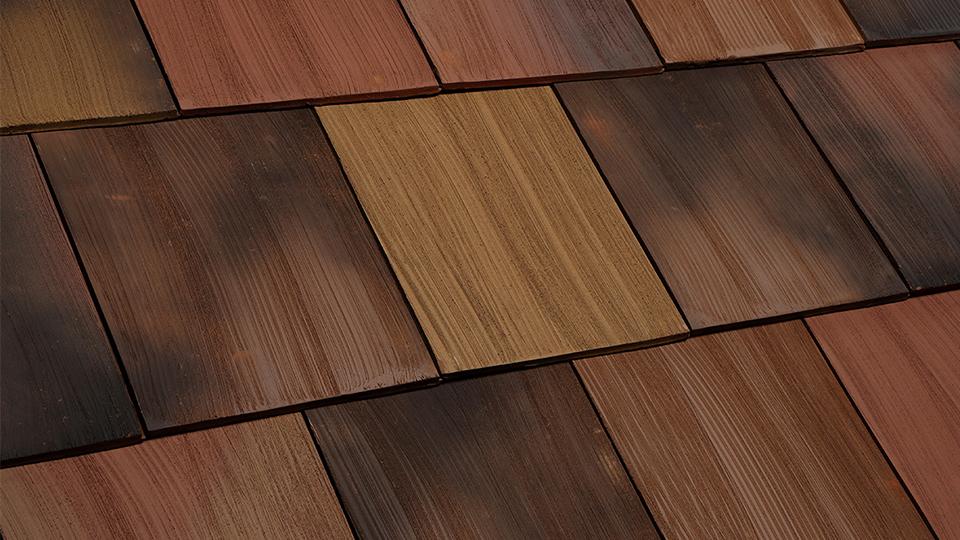


35 x 46 cm
Mate
1.6 cm
Roof
4.60 kg

a) Leveling. Level the surface where the tile is going to be placed with mortar, leveling it at the mason line level.
b) Drip Edge Masonry; install the drip of galvanized sheet No. 22 caliber, in order to avoid stains on the flagstone molding. This drip should be pierced every 50 cm to allow the water flow.
c) Water Seal. Seal the entire slab including the galvanized sheet.
2. Leveling Mortar
The first tile at the bottom of the flagstone requires the leveling mortar. Apply the mortar to the entire edge of the flagstone.
3. Line Level
Install the leveling line from the watershed to the bottom edge of the flagstone for reference and to align the tiles lengthwise.
4. Installation Sequence
The tile is installed from right to left and from the lowest part of the roof to the highest part. The tile is set with 16 gauge galvanized wire or a 2” nail. Lay the first tile in the lower left corner of the installation area.
5. The tile is installed from right to left horizontally, holding them from the interlocking. It is recommended to apply a weather resistant silicone to seal the interlocking joints to prevent possible leaks.
6. Lay the next higher row with a 5 cm overlap. Covering the perforation for the stringing of the previous row. Continue the installation by “stringing” them until you have 3 pieces installed vertically and set the wire to the flagstone using a nail for concrete or anchor and screw.
7. Cover the entire desired area and install ridgepoles.
NOTE: to install the tile on structures without a flagstone support, overlap the tile 50% horizontally and vertically to avoid moisture infiltration. This is applicable to all types of flagstones when the user wants greater protection against leaks.
Fill out the form and we will contact you as soon as possible.
